How to link Unsplash Images in Html and CSS
Best way to link images from Unsplash to HTML and CSS
If you are reading this blog, I assumed you already know what Unsplash is and if you don't know. Unsplash is a website for free stock photography images. Unsplash lets you download images directly to your computer or link images to your blog.
In this blog post, you will learn how to link images from Unsplash to your HTML or CSS stylesheet.
Linking Unsplash Image to HTML tags.
Once your HTML tag has been created, paste the image url to the src attribute in your HTML code.
Unspash requires a source keyword before the unsplash.com
Example 1
<main class="image__wrapper">
  <img src="https://source.unsplash.com/" alt="" width="300" >
</main>
Then go to Unsplash and select any image of your choice.
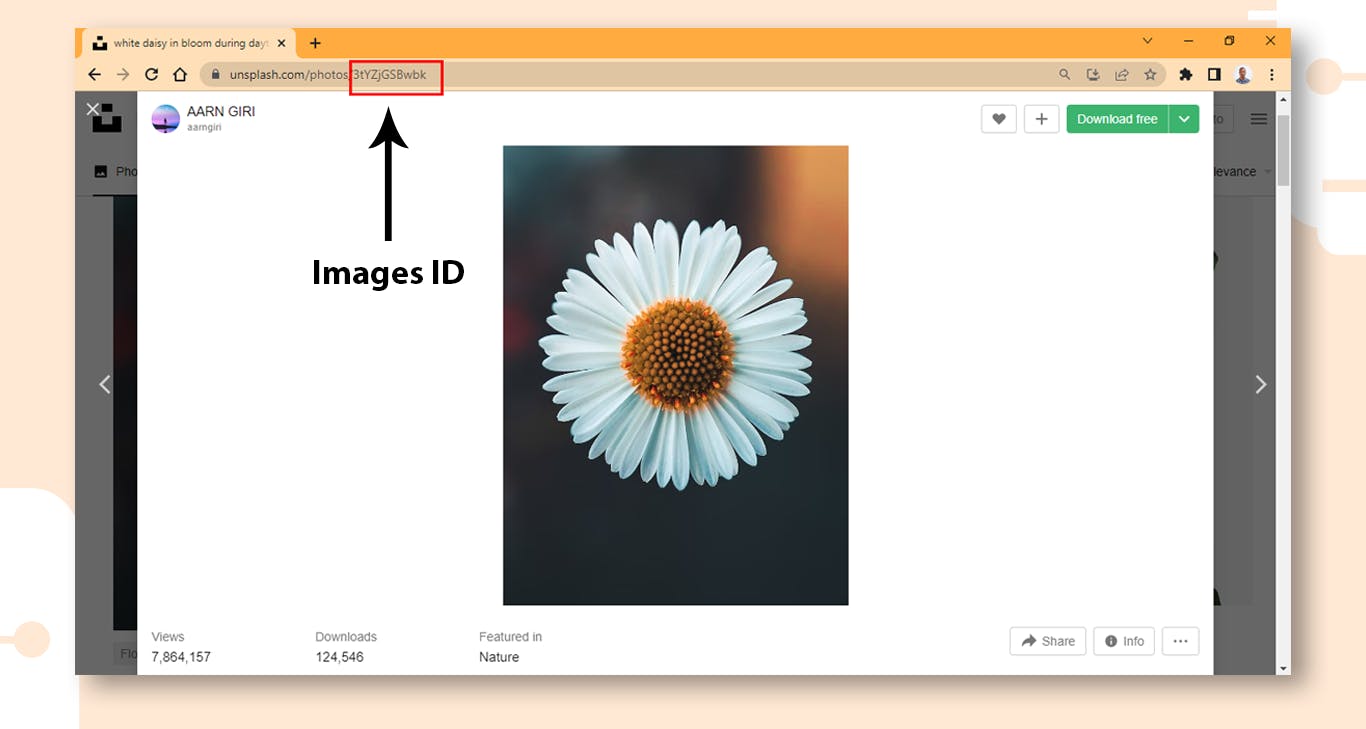
Click on the image you want to link to your project
Copy the image id from the address bar on your browser and paste it after the forward-slash as indicated below.

Example 2
<main class="image__wrapper">
  <img src="https://source.unsplash.com/3tYZjGSBwbk" alt="" width="300" >
</main>
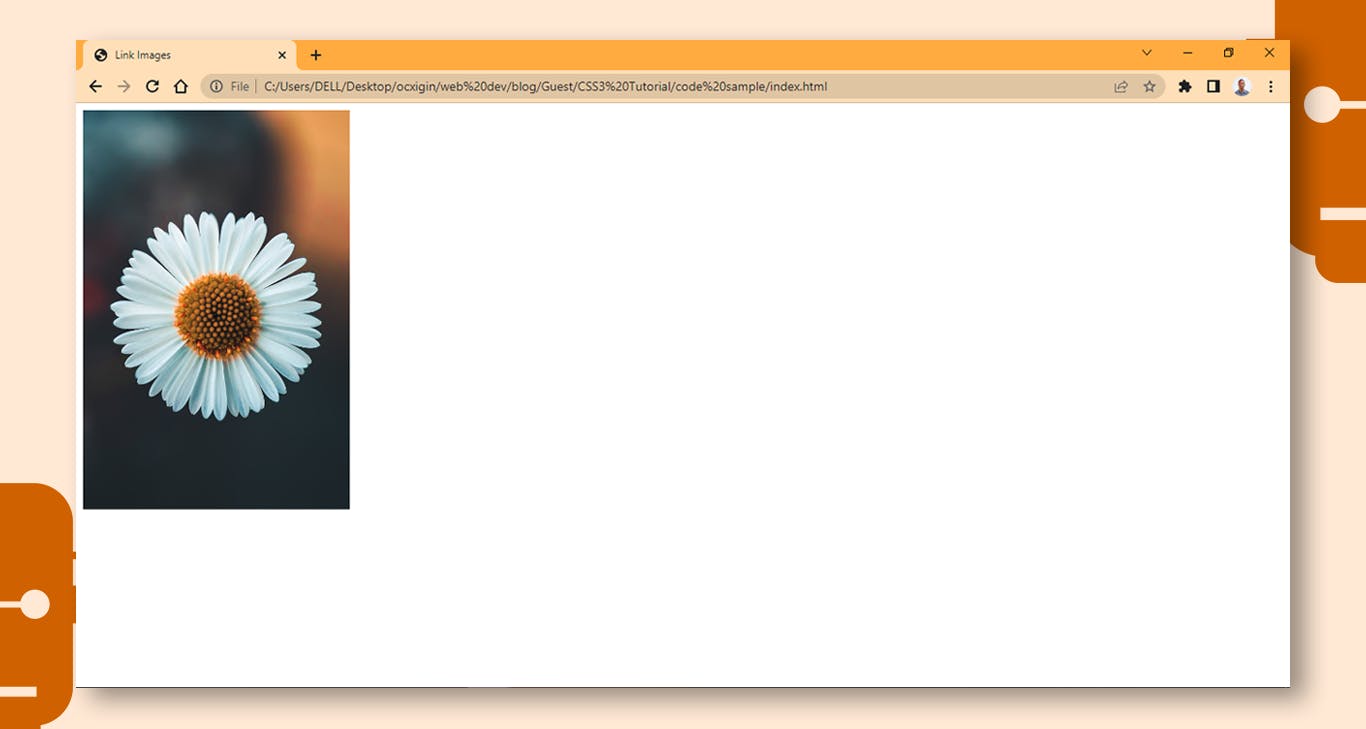
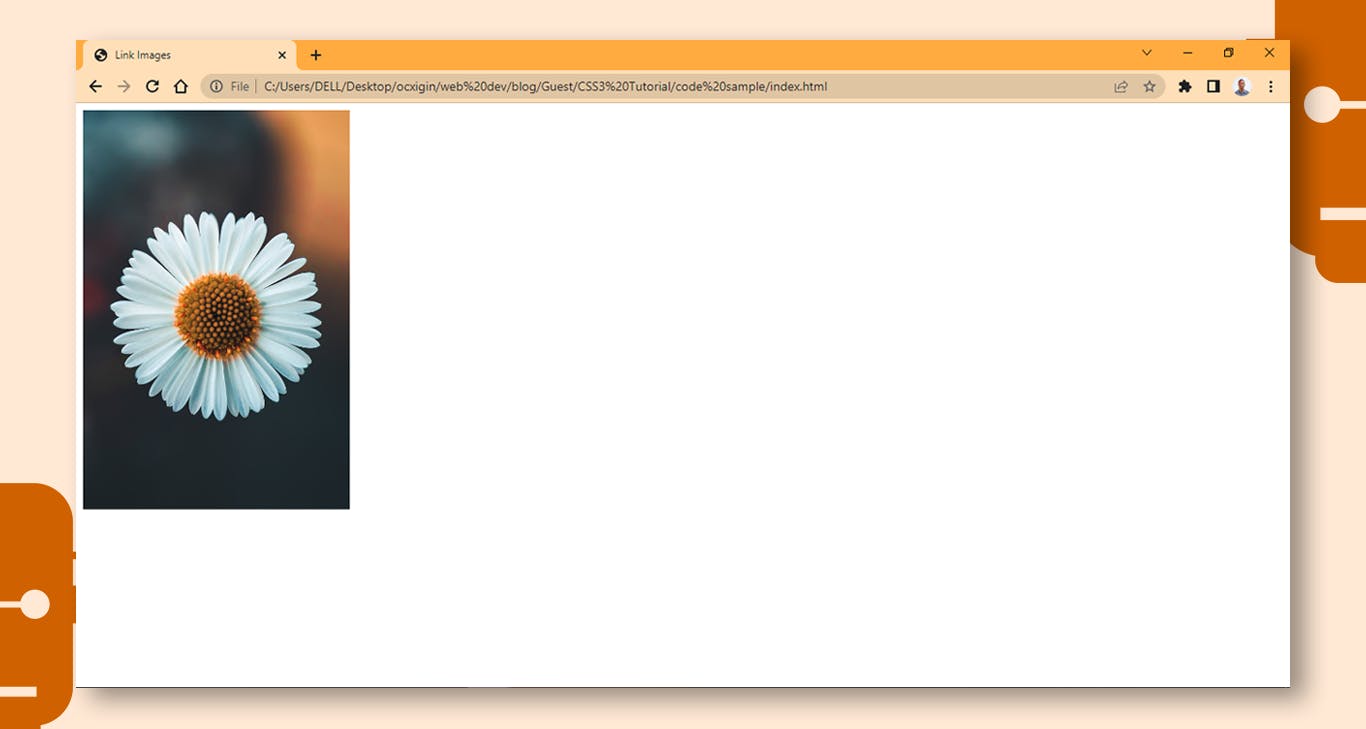
Browser Preview

Linking Unsplash image to CSS rule
The process remains the same. After you must have created your CSS rule, add the image to the background or background-image property as how below.
Example 3
 <main class="image__wrapper">
        <img src="" alt="" width="" >
  </main>
main {
    background:url('https://source.unsplash.com/3tYZjGSBwbk');
    width: 300px;
    height: 400px;
    background-position: center;
    background-repeat: no-repeat;
    background-origin: content-box;
    background-size: cover;
}

When you choose to use CSS to link your image, don't use the img tag or any other empty tags, as this will not work. this is because the img tag or empty tags are self-contained element and does not have a background.
Dont Use the Img tags to select images on CSS

Use a NON-Empty tag instead

Wrapping up
We learned about How to link Unsplash Images in Html and CSS and we discussed.
Linking Unsplash Image to HTML tags.
Linking Unsplash image to CSS rule
Alright! We’ve come to the end of this tutorial. Thanks for taking the time to read this article to completion. Feel free to ask questions. I’ll gladly reply. You can find me on Twitter and other social media @ocxigin. or email me at ocxigin@gmail.com
#Cheers
