
How to Set up a Vite.js Project
How to set up a vite.js project for JavaScript, TypeScript, Vue, React, Preact, Lit, Svelts


What is Vite.js
Vite is a build tool for developing fast and rapid modern web projects. Just as its name vite, which is a french word for quick. It's pronounced as veet.
Vite.js is developed by Evan You the creator of Vue.js.
Vite consists of two major parts namely;
A DEV SERVER: This server is what is used to start up the development server, that is the page you first see after installation. It provides rich feature enhancements over native ES modules. And its also used for
Auto-reload (Automatically reload the page on save)
Hot update (Automatically reload the update the content on the page without reloading the page, this is for CSS files)
A BUILD COMMAND: This Command is used to bundle your code with Rollup and also pre-configure your files to output highly optimized static assets for production.
Why use Vite?
Vite.js comes with a lot of functionalities and features.
Its supports TypeScript, JSX, CSS out-of-the-box. Instant Server Start, for local development and build process for production.
Hot Module Replacement (HMR) that stays fast regardless of app size.
Pre-configured Rollup build with multi-page and library mode support.
Rollup-superset plugin interface shared between dev and build.
Flexible programmatic APIs with full TypeScript typing.
It can be integrated with lots of popular JavaScript frameworks.
SUCH AS:
Vanilla JavaScript | .js extension | TypeSript | .ts extension |
React.js (Vanilla JavaScript) | .jsx extension | React (TypeScript) | .tsx extension |
Vue.js (JavaScript) | .js extension | Vue (TypeScript) | .js extension |
Preact.jsx (JavaScript) | .jsx extension | Preact (TypeScript) | .tsx extension |
Lit (JavaScript) | .js extension | Lit (JavaScript) | .ts extension |
Svelte (JavaScript) | .js extension | Svelte (TypeScript) | .ts extension |
Installation / Project Set up
Now that we have explained what Vite.js is and why we need it. Let's see how we can get it set up to start developing.
We are going to see how we can create a setup for all the projects mentioned above, so let's start with Vanilla JavaScript.
Vanilla JavaScript Setup
Create a folder on your desktop and name frameworks, drag and open it with VS Code.
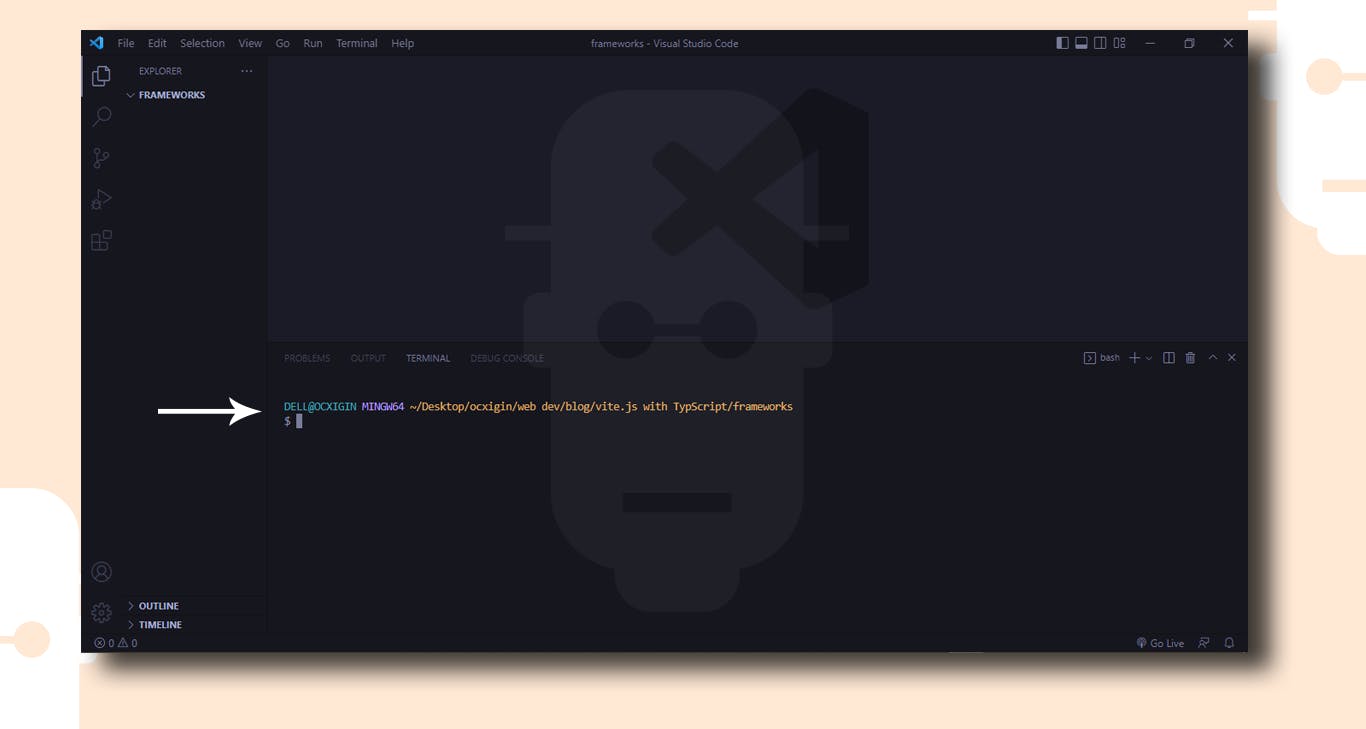
Next,
Ctrl + `( backtick ) to open the VS Code TerminalNext, Type
npm create vite@lateston the Terminal, then hit EnterThe Terminal will prompt you to create a project name
Type javascript as your project name and hit enter
Select a framework: » - Use up-or-down-arrow-keys. Return to submit
Next, make sure the greater-than sign
>is facing Vanilla, then hit enter.
Next, select javascript from the two options provided. Then hit enter

This will create a javascript folder inside your project folder
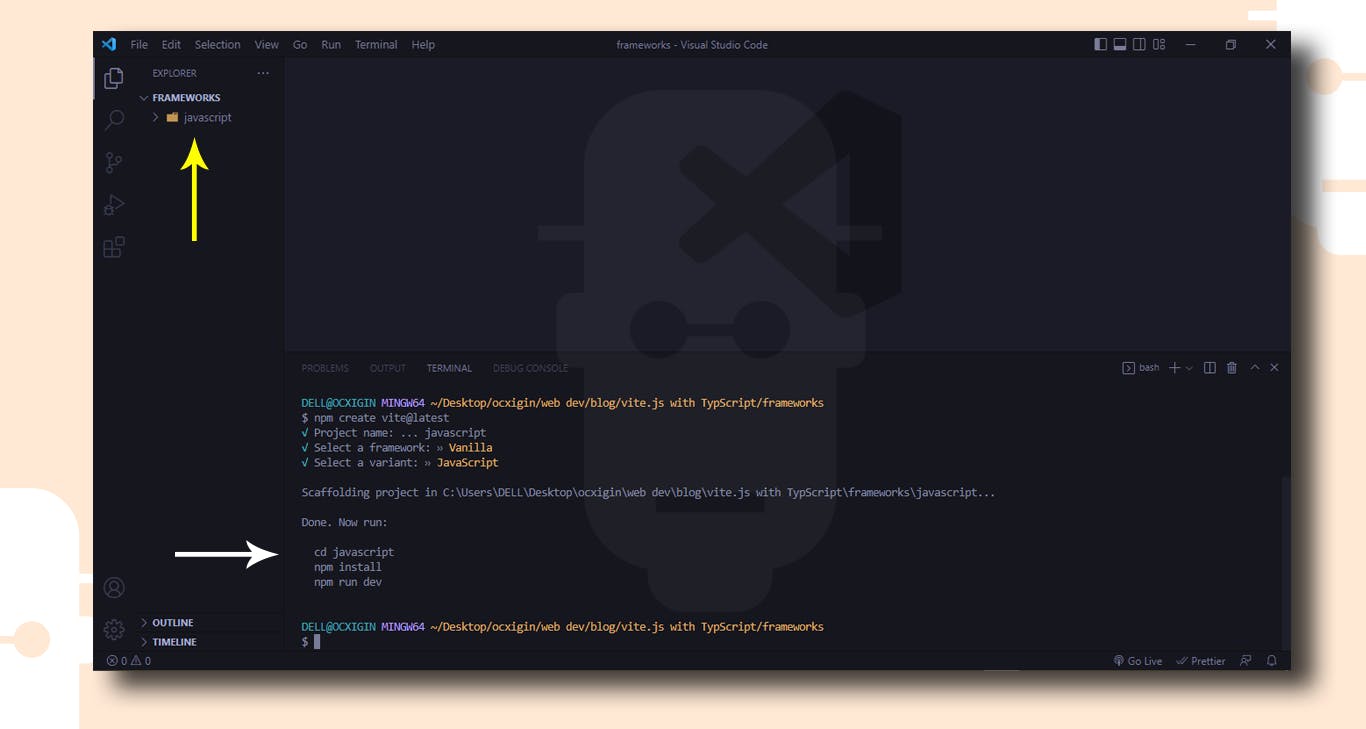
cd into the javascript folder, type
cd javascriptand then hit enterNext, type
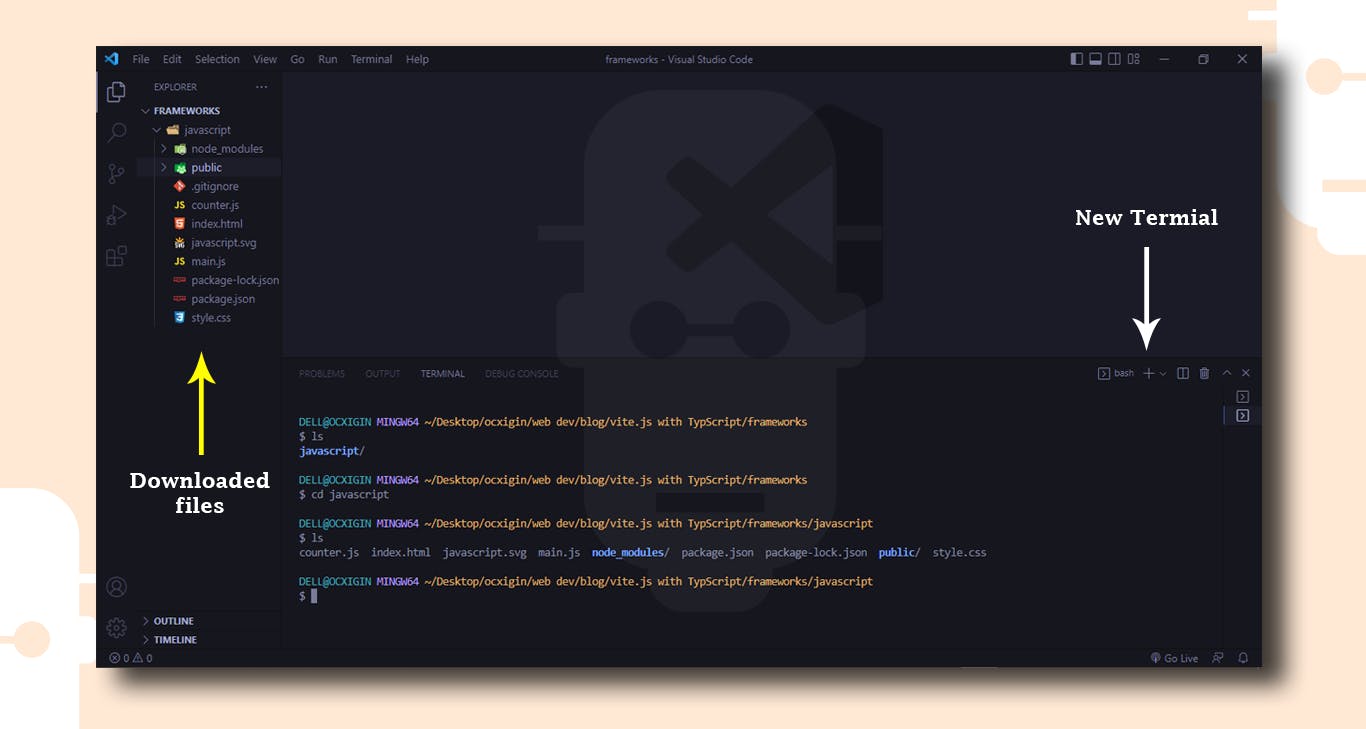
npm installthen hit enter. Notice the files we have installed on the javascript folder as indicated by the yellow arrow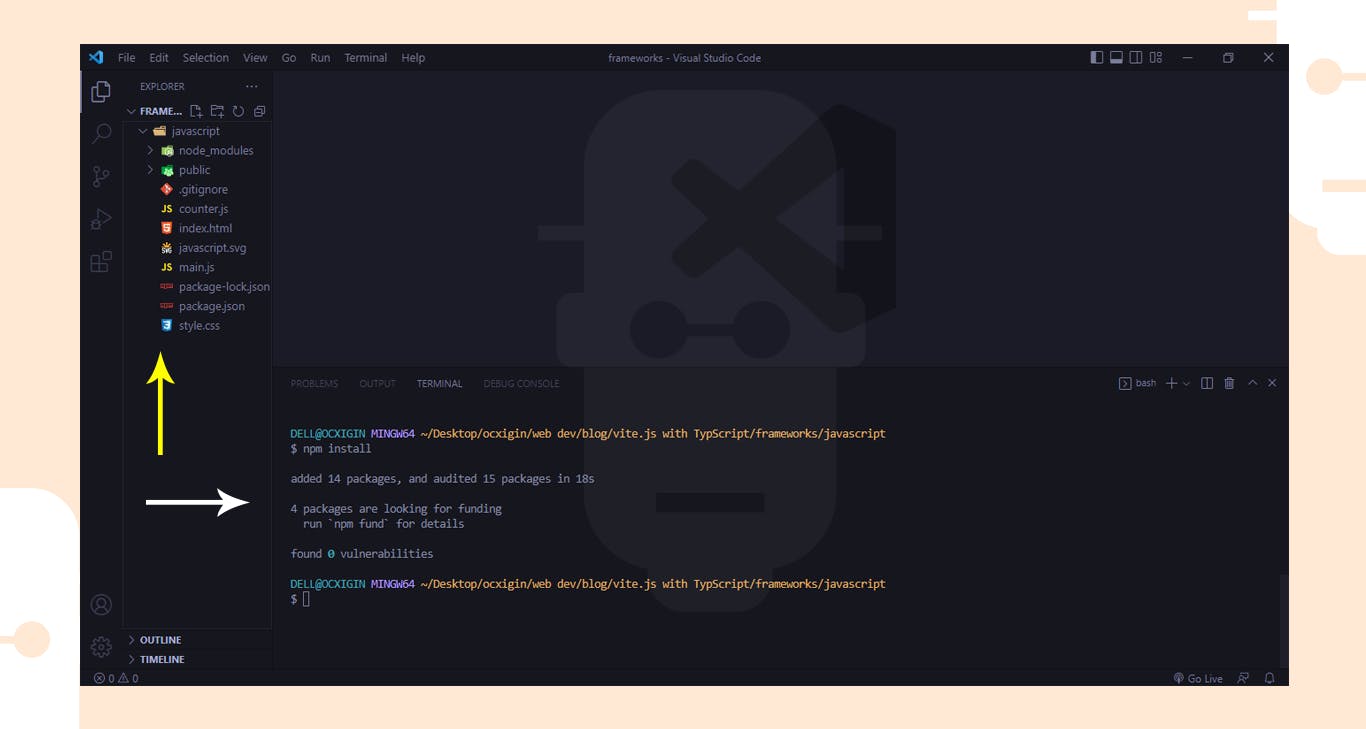
Next, type
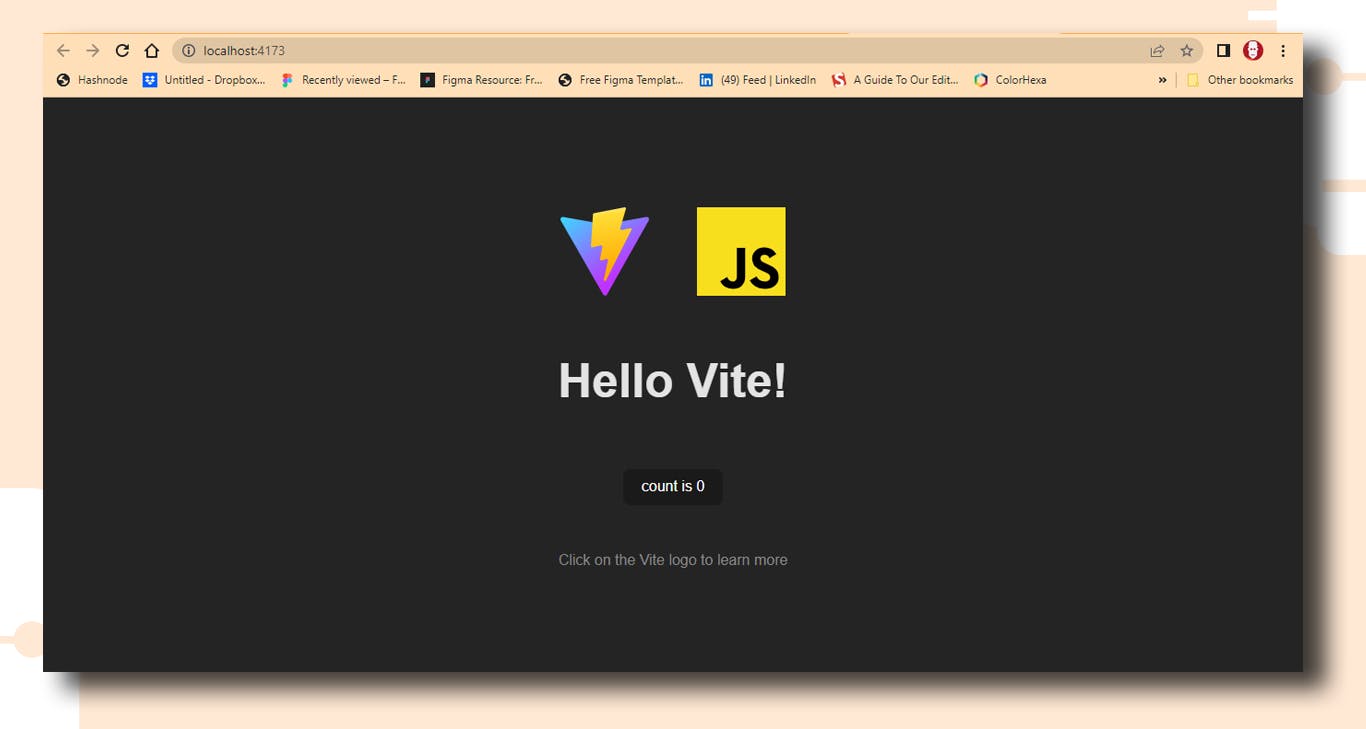
npm run devand hit enter. Then hold Ctrl + click the localhost:5173
This will lunch the dev server on your browser. see preview below

Now that we have our project set up, lets see how we can begin writing our first line of code.
Navigate back to your VS Code panel, and click on the package.json file to see the packages you have installed.
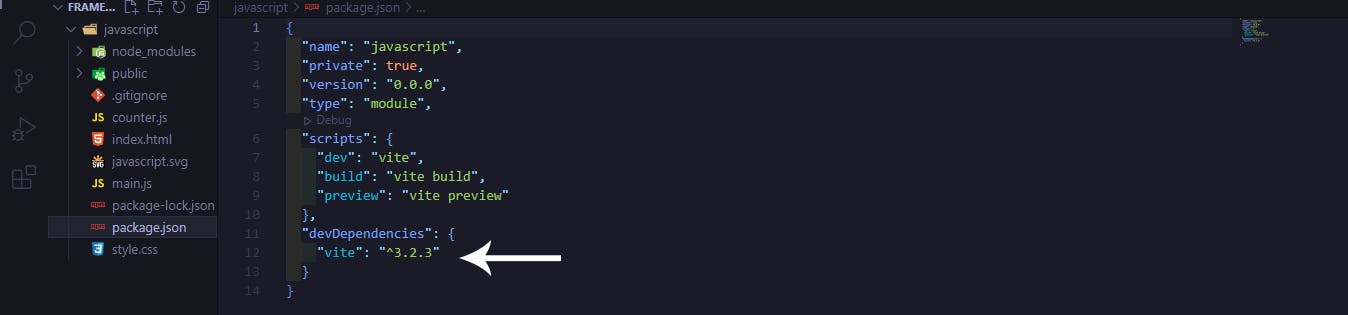
Notice, the only package we have installed is vite with version 3.2.3, and this is installed as a devDependency.
While for the scripts we have dev which points at vite, build at vite build and preview at vite preview respectively. When we chose to run any of the scripts all we have to do is type npm run then with the name of the script command. For example the npm run build will re-bundle our files and create copy for production.
With that being said, let's check the index.html file.
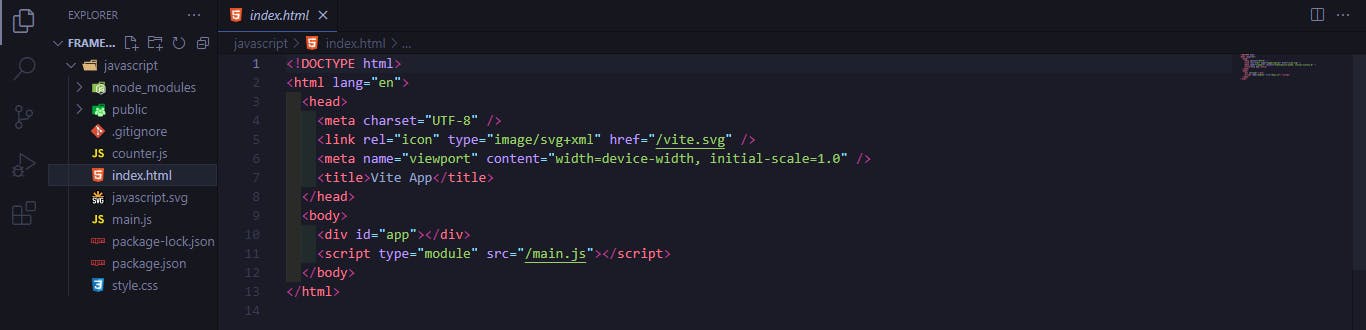
Inside the HTML file, we have just a single <div> with an id of app. The main.js and style.css files are also linked to this HTML file, as indicated above.
Now we've taken a look at the index.html file, next click on the main.js file.
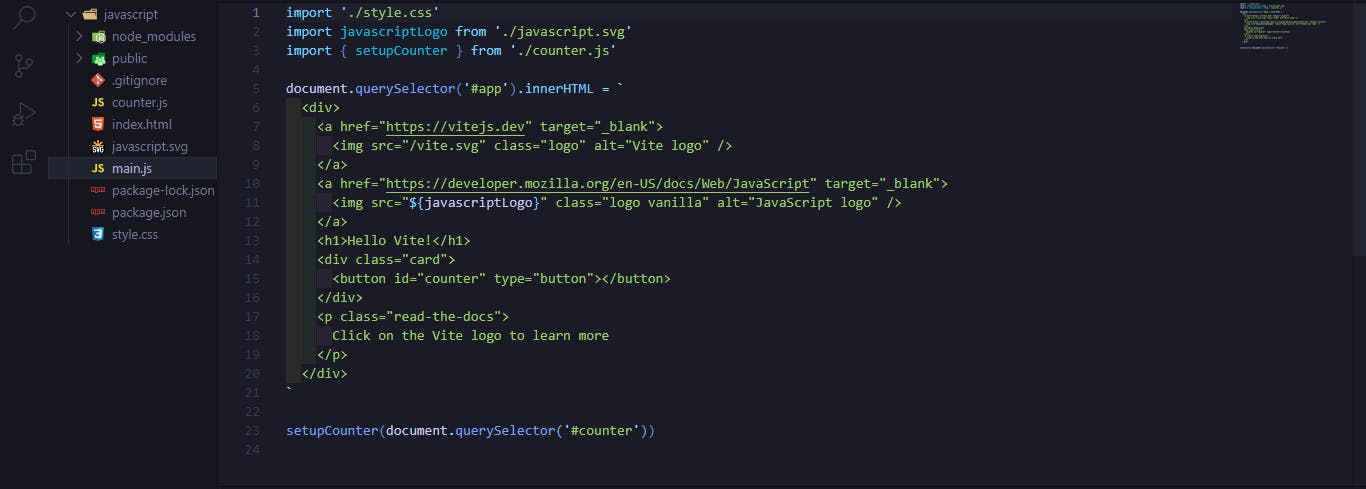
From the code sample above, The HTML elements are inserted into the DOM via JavaScript.
So let's write a simple console.log to test if the app is working.
Bellow the setupCounter method, Type and then save
console.log('Hello Vite.js')
Next, go to your browser and right click
Next, click on inspect, this will open up your developer tools
Next, console tap, and you should see the Hello Vite printed out.
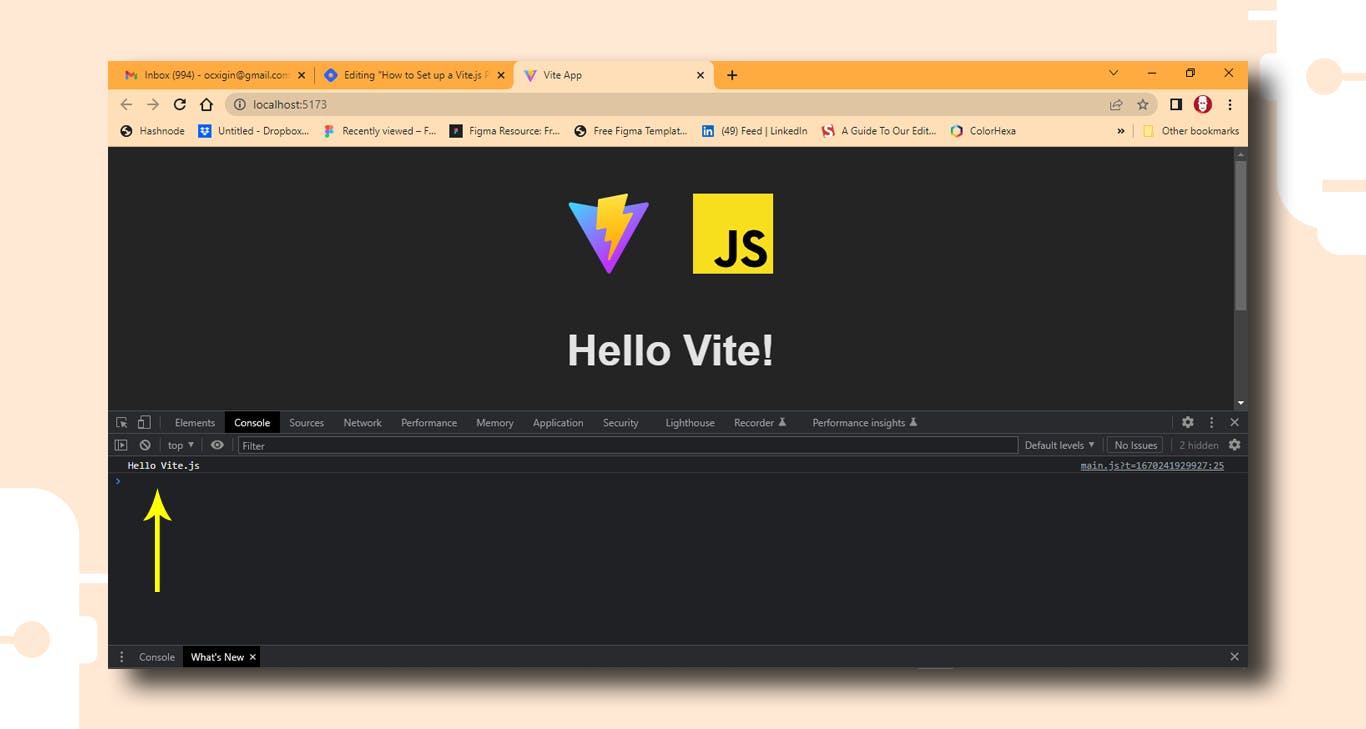
Congratulations! 🥳 you have successfully test your first Vite.js app. Note that we don't refresh the browser, all we have to do is just to save the file we edited**.**
If you remember correctly we talked about, Vite.js consist of two major parts. Well the first part is the dev server, which we have seen as we ran npm run dev.
Now let's see how the second part works, type npm run build and then hit enter
This will create a dist folder at the top of the Javascript project folder. Navigate inside this folder you find the HTML, CSS, JavaScript, and Logo SVG files have all been grouped for production.
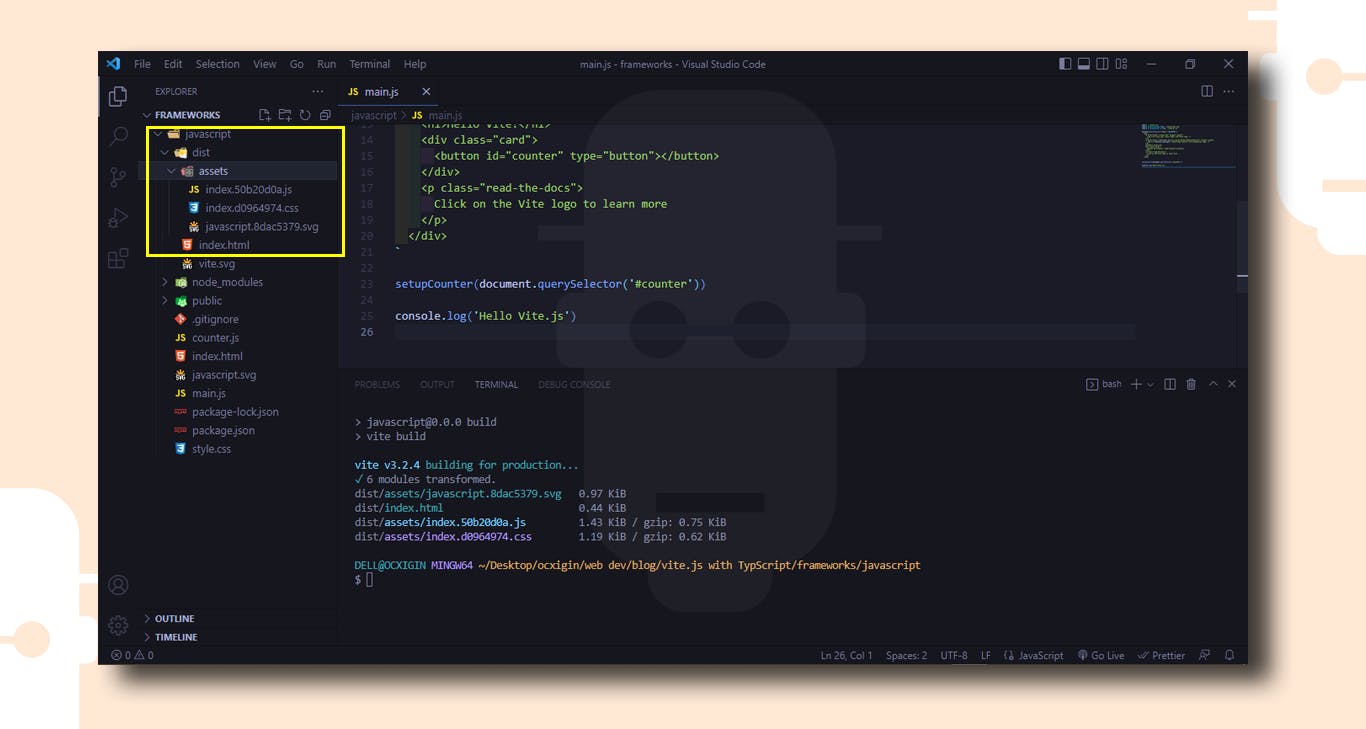
We can view these files to check if they match the ones we have locally for development. To do this simply run npm run preview and then hit enter, this will open up your project on another tap.
So we have talked about the basic things that have to do with installing Vite.js and Vanilla JavaScript.
For, other Frameworks that vite.js supports also follow these same rules.
TypeScript Setup
Let's install TypeScript.
Press
Ctrl + Cto stop the current serverNext type
cd ..then hit enter to change the directoryType
npm create vite@latestthen hit enterThe Terminal will prompt you to create a project name
Type Typescript as your project name and hit enter
Select a framework: » - Use up-or-down-arrow-keys. Return to submit
Next, make sure the greater-than sign
>is facing Vanilla, then hit enter.

- Next, select TypeScript from the two options provided. Then hit enter

cd into the Typescript folder, type
cd typescriptand then hit enterNext, type
npm installthen hit enter. Notice the files we have installed on the TypeScript folder as indicated by the yellow arrow

- Next, type
npm run devand hit enter. Then hold Ctrl + click the localhost:5173

- This will lunch the dev server on your browser. See preview below
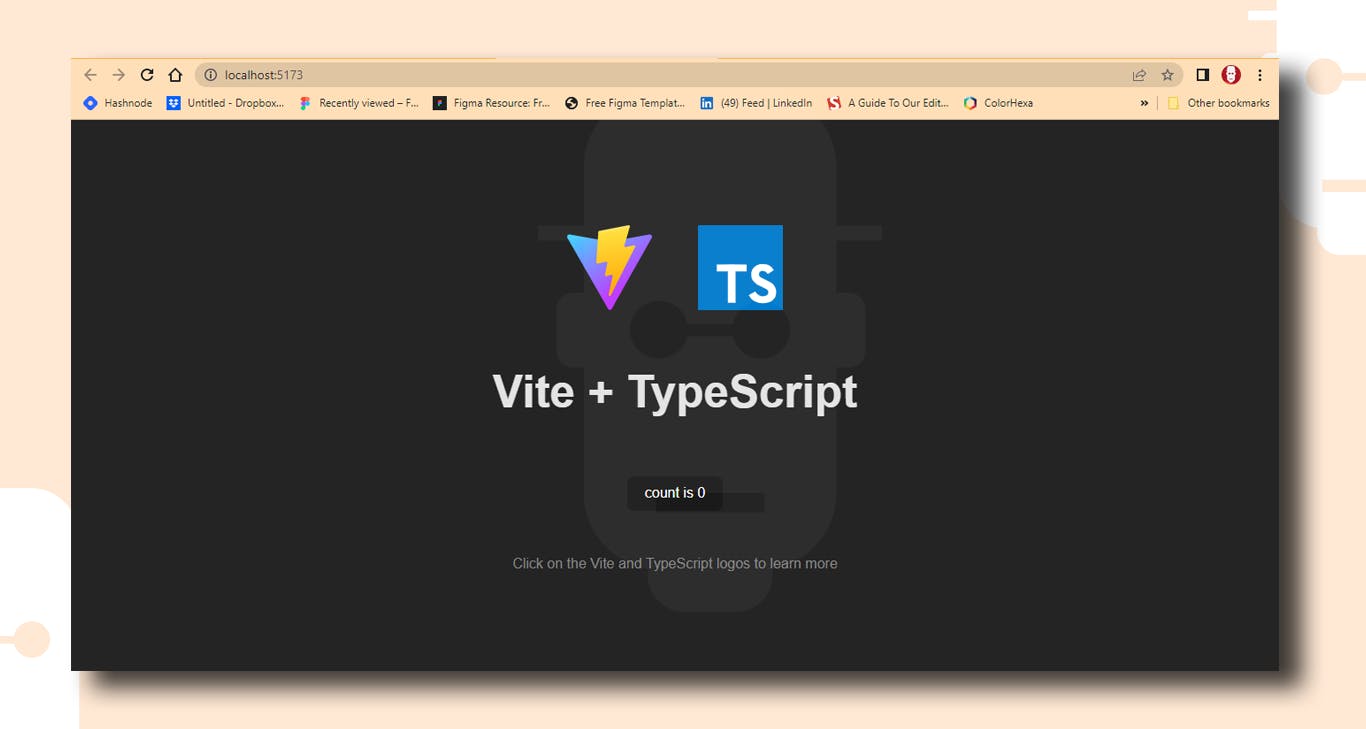
Typescript is now set up on your project for development.
To learn more about Vite.js or TypeScript, click on the logo.
Exercise
Repeat the process above and set up a project for Vue, React, and Preact.
Error Handling
Make sure Node.js is updated. Vite requires Node.js version 14.18+, 16+. However, some templates require a higher Node.js version to work, please upgrade if your package manager warns about it.
If
npm create vite@latestdon't work, check if the word is typed correctly and then retype the again or visit the official Vite.js website to check if thenpm create vite@latesthave been changed again. As of the time of writing this blog vite.js is presently at version3.2.3. The previous version2.3.7requirenpm init @vitejs/appto set up vite.js. Using the wrong command will throw an error.Make sure you are in the right directory anytime you run a command.
What Vite.js is Not
Vite.js is not a framework unlike React.js or Vue.js and should not be compared with them. It's a build tool
It does not add any special functionality to your website/app. It's meant to help you build your project and load your files to make development faster.
In the case of Typescript, it does not do any type checking or debugging of your TypeScript code.
Summary
We learned about the following:
What is Vite.js
Why use Vite.js
Installation / Project Setup
Error Handling
Alright! We’ve come to the end of this tutorial. Thanks for taking the time to read this article to completion. Feel free to ask questions. I’ll gladly reply. You can find me on Twitter and other social media @ocxigin.
#Cheers